

 Back in January for the Just Rite Garden tour, I saw a wonderful project on Barb Schram's blog for ribbon bookmarks using bookplates. So I tucked it into the back of my mind for a March birthday gift for my Mom. Tim Holtz' decorative bookplates were an amazing find for this project. You'll soon discover that I am a big fan of Tim Holtz products -- I love that whole vintage, distressed look. But I especially love repurposing. So using the bookplates for something a little different really appealed to me.
 I've taken some pictures of the steps, and I'm adding some direction. But as I'm quite new to blogging, please feel free to post any comments you might have to help me on my journey. I hope you enjoy the project...I certainly had fun creating it.

LoveLee Recipe:
Adirondack Alcohol inks - Stream, Cloudy Blue, Cranberry, Gold Mixatives, Blender Solution.
Cricut Sentimentals Cartridge – Shadow Frame3 at 4 ½” (Gold Metallic CS), Layer Frame3 at 4 ½” (Bazzil Swiss Dot), 2 Library Cards (not cut, drawn w/brown ink), and 1 Library Pocket cut at 3” (Ivory CS).
Just Rite Stamps - Monogram Set w/Versa ink and black embossing powder.
Tim Holtz Idealogy Ornate Plates.
Crystal Lacquer, Glossy Accents, or Diamond Glaze.
LaMode Vintage Buttons.
2 yds decorative ribbon.
Fired Brick/Broken China Distress Stickles.
Distress Inks: Brushed Corduroy and Tattered Rose.
Perfect Pearls (Gold).
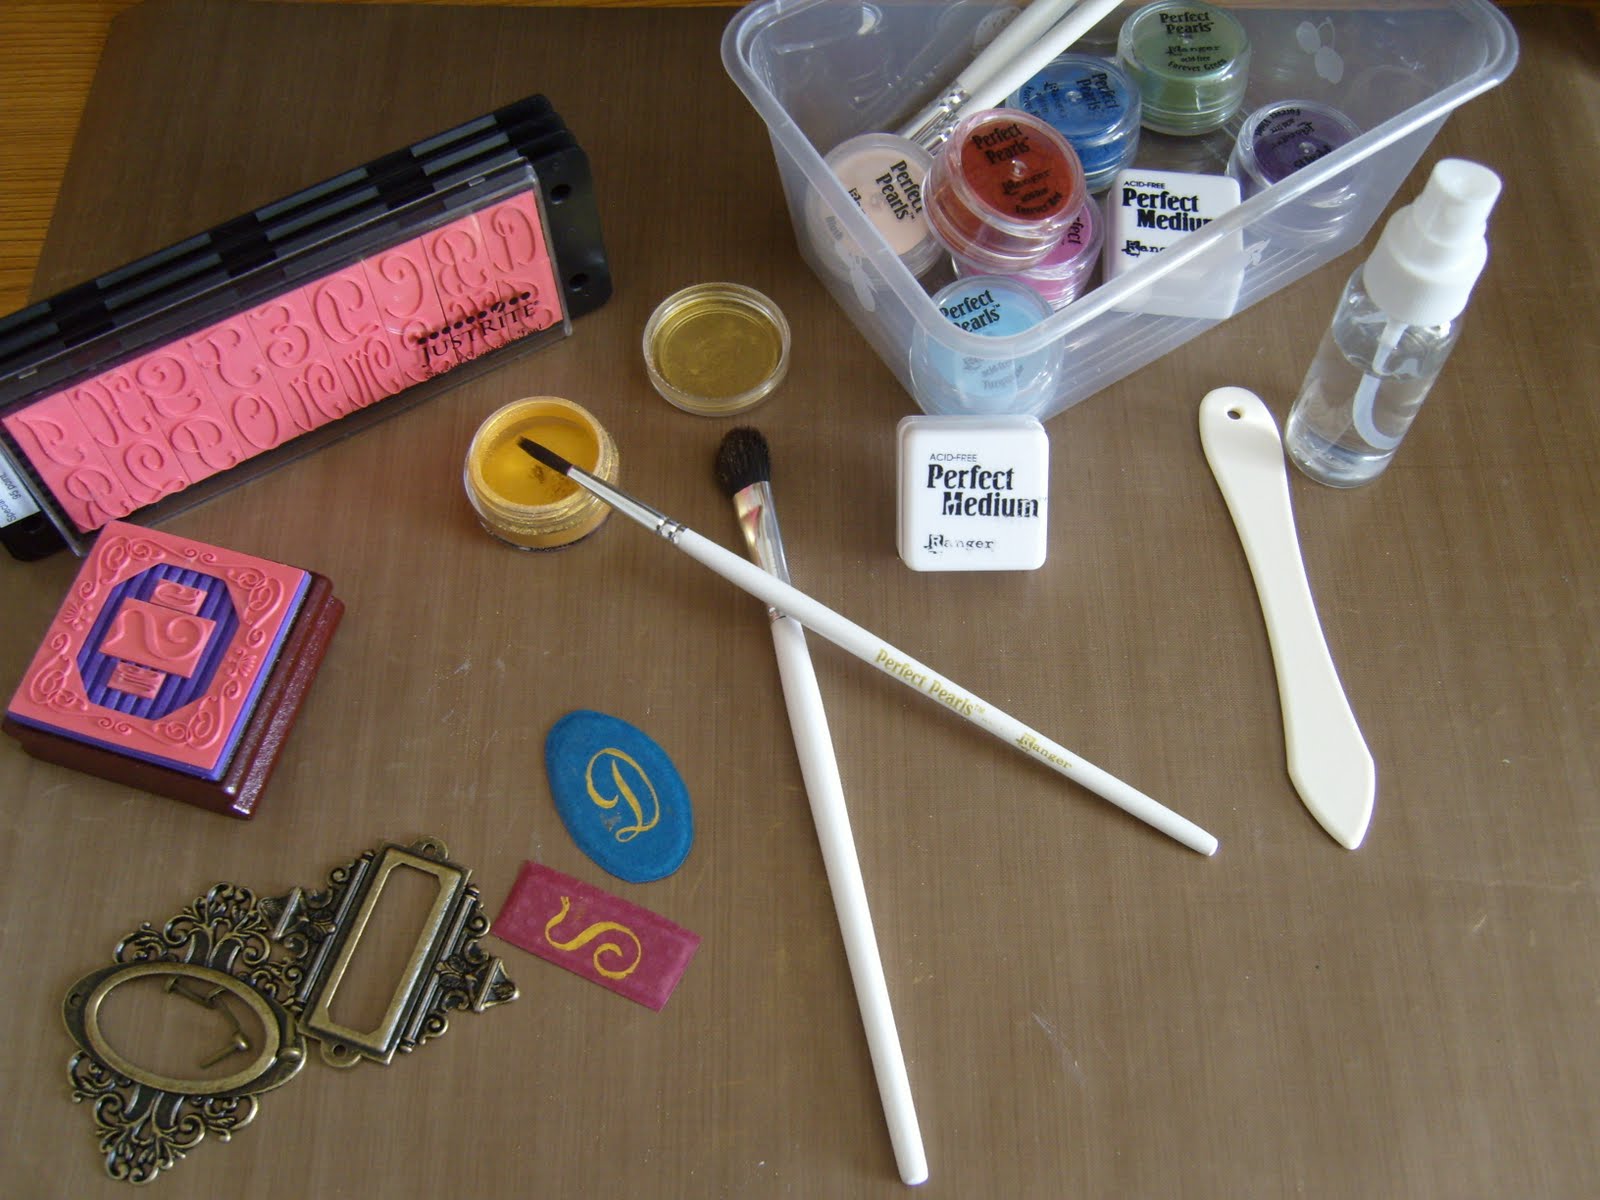 Using scraps of deco CS (cardstock), press into ornate plate to gain impression of inside of plate. Cut off excess & stamp monogram with versamark or perfect medium. Brush on perfect pearls to cover and lightly brush off excess. Mist with water to set. Adhere to inside of bookplate with Crystal Lacquer on the inside rim.

Box Inserts
Two, 12” x 3” strips of Deco Cardstock
- Score at 5”, fold
- From fold line, score at 5” & 5 ¼”
- Fold on all score lines
5” x 4 ¾” piece of Cardstock
- With 4 ¾” edge at top of score board, score at 1 ¾”, 2”, 2 ¾”, 3”
- Fold on score lines so that center is raised (valley fold, mountain fold, mountain, valley)
- Distress center of CS (distress inks used – brushed corduroy, tattered rose)
- Apply strong adhesive to top of left/right sides, but not center
- Adhere back only of deco CS to each side (pay close attention that rounded corners are on correct sides)
- Place in tin

 For the ribbon, I folded it in half and used the folded edge for the tail. I put brads through the holes of the bookplate and wrapped it around the ribbon to hold in place. I used a separate piece of scrap CS to adhere to the back of the plate, over the ribbon, holding everything in place. I added some decorative stamping to the back with perfect pearls again, and outlined it with stickles. I attached a decorative button to the top of the ribbon with a brad as well. I also colored the button with copic markers.
I hope you enjoyed this fun project. Thanks for looking. Lisa


No comments:
Post a Comment
Thank you for your LoveLee Comments!