


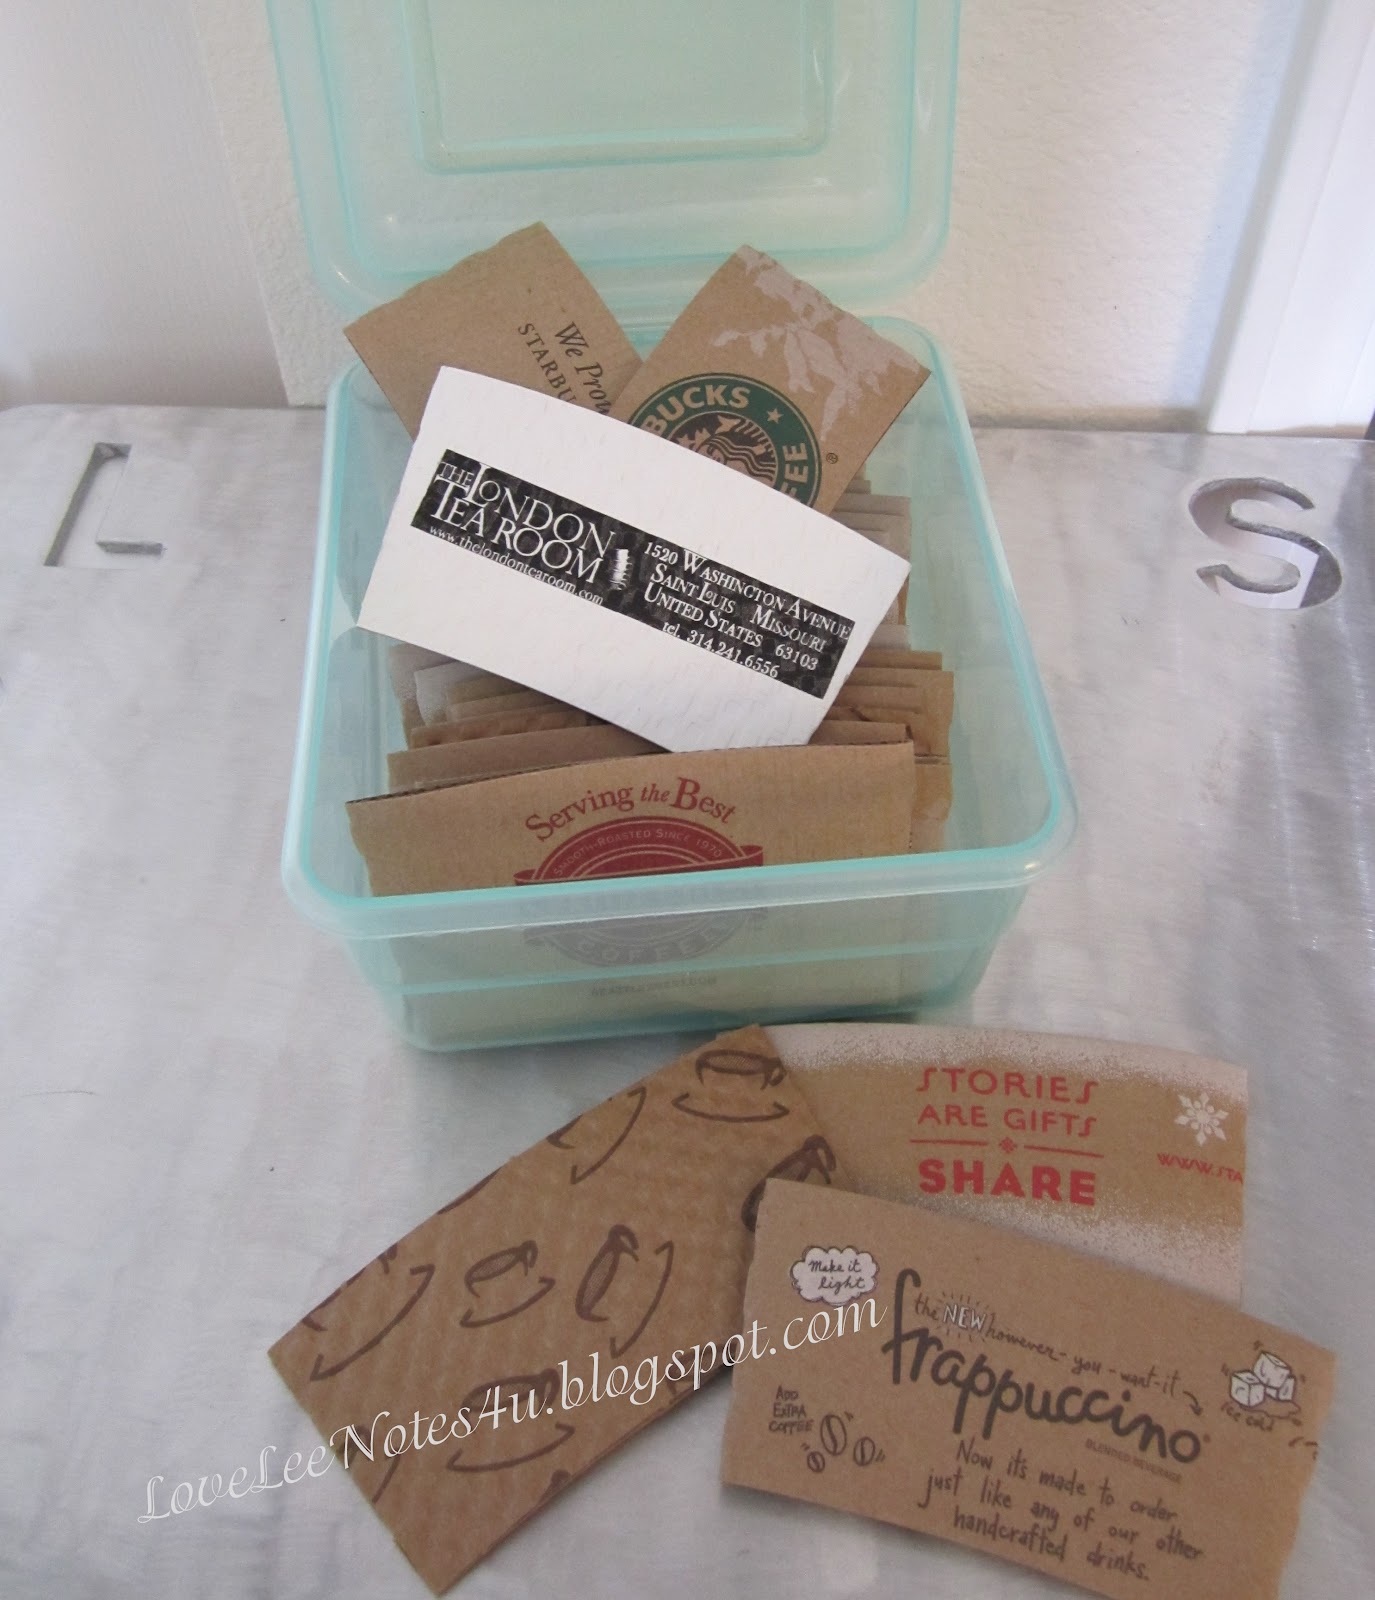
My hubby loves his coffee as much as I love my tea! So whenever we go out for hot drinks, we always save our cup cozies (I think my DH has decided that if he can't beat my recycling habit, he might as well join me). I've had a few ideas lurking in my brain for a while about using these in different ways. One of the most common craft projects is making them into mini books. I decided to take it a step further and make them into Card Story Cozies (gift card booklets), which I used as stocking stuffers at Christmas time. But what a fun gift this would be for any gift-giving day!

I loved the front of the Starbucks cozies this Christmas past that said "Stories are Gifts~Share", so an easy project was made easier because I didn't cover up the cozy with deco paper. For my older son, Nathan's, cozy I added one gift card slot for a larger gift prize, but with my DH and Cody's cozies I added four gift card slots for 4 separate fun gifts. There's so much you could do with these, in addition to the gift cards, by adding a small note card, wallet pictures, money, & various odds & ends to each pocket -- lots of possibilities. An especially fun addition are the "free" Starbucks itunes cards that they come out with each week or so.


~ Separate front & back of cozy by cutting left/right side seams (both ends) from top to bottom.
~ To determine book spine height, measure left side top to bottom--mine measured 2 1/4"
~ For the width of the book spine, determine the number of gift cards and/or tags you'll be using and add one inch for each, plus an additional 2" for front/back attachment. I had four gift cards, plus a "book of cards" Tag, so my measurement for the book spine was 6".
~ Cut deco cardstock (CS) to the determined measurements, 2 1/4" x 6" (in my case).
~ With CS horizontal, score at 1/2", and every inch thereafter (1/2", 1 1/2", 2 1/2", 3 1/2", 4 1/2", 5 1/2").~ Turn CS over to back side and score at the 1" mark, and every inch thereafter.
~ Fold on the score lines to make an accordion folded strip, creasing well.
~ Use strong adhesive to glue down both ends of the 1/2" tab of CS to the inside front (right side) & inside back (left side) of the cup cozy--make sure valley fold is on the inside of book, next to edge of covers when adhered. Close "book" cozy so that the accordion pleats are stacked on top of one another. Set aside for now.

 ~ To make your gift card envelope slots: cut CS 4 1/4 square. Place gift card diagonally in center of CS and fold all four sides around gift card (snug, but not tight). Remove gift card, open up CS and on the left side only--where the creases meet, cut out the tiny triangles (shown below marked in pencil).
~ Fold the envelope together--bottom up, right side folded in, & top folded down. Glue in place with strong adhesive. The left side flap can be either tucked in after the gift card is inserted, or completely cut off for easy access. This is the back-side of the envelope. (I chose to glue my envelope completely together, including left side, then I used a circle punch to punch a half circle on the left side to make it a peek-a-boo slot to pull the card out.)
~ Open front cover of cozy "book" so that you can see first valley fold line at the 1/2" mark. Determine if you'll start your book with a tag or gift card envelope (I began my Card Story Cozy with a tag). If you're starting with a tag, skip the first valley fold by folding over the 1st accordion fold. Run a length of strong adhesive on the right side edge only of the back of the gift card envelope. Turn gift card envelope over and press adhesive down into the valley fold of the accordion folded CS. Turn the page & repeat for each of your gift card envelopes. (The last 1/2" of your accordion folds is already adhered to the back cover--don't attach any envelopes to this section, or that page won't turn).
~ If you didn't start your book with a gift card envelope, then now adhere your tag or other embellishment to the first valley fold.
~ Glue decorative CS to the inside covers of the book--I left the corrugated boarder of the cover showing on mine, so my inside CS dimensions were approx. 3 3/4" x 2".
~ Finally, I used 24" of ribbon to wrap around my book -- run a line of adhesive horizontally centered on the back of the book cozy and attach the center of the ribbon. That way your recipient can untie the book without losing the ribbon.
Note: My book was a real "page turner", but the pages were also able to fan out completely if desired. If you'd rather your book's pages not fan out, you can apply this technique: on the outside spine of the book where the accordion CS fans out, apply adhesive in each valley section--your pages will turn in true book form!
As always, if you have any questions, comments, or problems with this technique please leave me a comment and I'll respond quick as I can.
Valentine's Day, Birthdays, Anniversaries, "Just Because"...these Card Story Cozies can make any day fun!
Happy Crafting! Lisa


No comments:
Post a Comment
Thank you for your LoveLee Comments!